What's a fat quarter and what do I do with it?


Hello, I'm Gemma from Pretty Bobbins popping in to talk about fat quarters.  I love sewing from free-motion quilting to dressmaking.  You can pop by my crafty blog where I document my sewing or my travel blog where I talk about my life in Nouméa :)
If you've started buying fabric you might be getting a little confused by all the possible cuts.  First up you need to know that many sew-ers work in both the metric and imperial system.  Many patterns give you measurements in both centimeters and inches, some in inches alone and others stick to centimeters and meters.  Whilst it can be frustrating and confusing at first, before you know it you will be able to estimate an inch or 1/4" as easily as the centimeters that you learnt at school.  Did you ever notice that most measuring tapes have both inches and centimeters marked?  Now you know why :)
For the purpose of explaining a fat quarter we will work in inches.  A yard of fabric can be divided up into many different cuts of fabric as demonstrated below.
To start with, the width of fabric (WOF) is generally 42"-44" or 106.68cm-111.76cm
1 yard of fabric = 36" x WOF  = 91.44cm x WOF
1/2 yard = 18" x WOF = 45.72cm x WOF
1/4 yard = 9" x WOF = 22.86cm x WOF
1 fat quarter = 18" x 22" = 45.72cm x 55.88cm
1 fat eighth = 18" x 11" = 45.72cm x 27.94cm
5" and 10" charm squares are often used in quilting and sewing, these equate to 12.7cm and 25.4cm squares
Google will always come to your aid if you need to convert inches to centimeters, but it is really as simple as multiplying the number of inches by 2.54. 1" = 2.54cm
Have I confused you yet?  Of course you can also buy your fabric by the meter but as we are talking about fat quarters which are a quarter of a yard, it is useful to have this information.
I first started buying fat quarters because they often come in bundles or are on special.  Then I had a crisis of confidence, how will I ever use these small cuts of fabric?  Then I got creative.  This post is for you if you've ever found yourself in the position of wondering what the heck you're going to do with a fat quarter.  
There are LOADS of things that you can make using fat quarters!  There are so many in fact that we're not going to talk about them all today but keep your eye out as this is the first in a series of posts featuring projects that use fat quarters.
To give you an idea, here are some recent projects that I have made using fat quarters.
Clockwise from top left (including links to original tutorials where applicable): Twig and Thistle Bunnies, Dolly Nappies, Marble Maze, Chibi Bunnies, Pencil Roll, Mug Rug and (center) Buttercup Bag.
This bag by Melly and Me is a great example of patterns that utilise fat quarters.  You can purchase the pattern here or a kit here which includes the fabric requirements.
Some popular online tutorials featuring fat quarters include the Buttercup bag by Made by RaeFat Quarter Apron by Prudent Baby, Fabric Airplanes by 2 Little Hooligans (I am so making some of these tomorrow!) and a Fat Quarter Fabric Folder by Schlosser Designs.
Fabric Areoplane. Image by 2 little hooligans
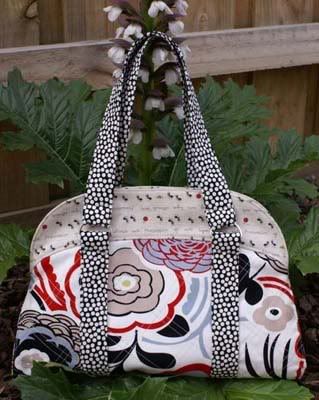
Buttercup Bag. Image by Pretty Bobbins
original tutorial by Made by Rae.

Of course there are so many gorgeous quilt blocks that you can make using fat quarters.  A good idea for a quilt can be to purchase fat quarter bundles, these are made out of either complimenting fabrics of a selection (or complete) range.  It can take the guesswork out of coordinating fabrics, especially if you are buying online.  The Oz Material Girls have some gorgeous fat quarter bundles that are great for building your stash or working into a quilt.  I can see a lovely baby girl's quilt out of the mauve and pink fat quarter bundles with some kona solids, maybe a white, and this fun cherry print on the back, oh, and maybe some lovely pink gingham for the binding.
BASIC PASTELS MAUVE FQ BUNDLE WINDHAM CRAFT QUILT FABRIC BASIC PASTELS PINK FQ BUNDLE WINDHAM CRAFT QUILT FABRIC RUBY PINK CHERRIES WHITE BY BONNIE & CAMILLE MODA FABRIC PUTTIN ON THE RITZ CHECK PINK BUNNY HILL MODA QUILT CRAFT FABRIC
See what can happen when you start with a fat quarter? :)  But before you head over to The Oz Material Girls and start stocking up on fabrics I'm going to share a quick project that I put together a little while back using a fat quarter from The Oz Material Girls.  Keep an eye on their Facebook page for their fat quarter frenzy sales, I got a great selection!
Using one of these fat quarters I made some marble mazes, so quick and easy, all I needed was a fat quarter, a packet of marbles and my usual sewing supplies.
Using your rotary cutter and ruler you need to cut two squares 5.75" x 5.75".  Take note if you print is directional and cut accordingly.
Place your two squares right sides together and sew around all four sides using a 1/4" seam leaving a 2" gap for turning.
Trim you corners.
Turn right side out, make sure your corners are nice and sharp, iron flat, then sew 1/8" from the edge of your 
square remembering to leave your gap for your marble.
Take your ruler and a fabric pen and draw out your maze.  Make sure your measurements are precise or your marble will not fit through the maze.  You want your maze "walls" to be 1" apart.  I STRONGLY recommend that you practice on a scrap to make sure that your measurements are precise and that your marble will fit through the maze.  I made up a different route each time with some deadends.  Just make sure you have a route that allows some movement and manipulation, it should be fun :)
Making sure you are precise, sew along your marked lines.  Ensure that you sew a few stitches back and forth to secure each maze "wall", the fabric and stitching will be stretched during play and you don't want your stitches unraveling.
Insert your marble.
Be sure to push your marble well out of the way.  Complete the top stitching across your marble opening.  
Once you've finished sewing your maze walls you will find that you have lots of thread tails.  
Knowing my boys I decided to add some fray stoppa once I'd cut the thread tails, just for some extra strength :)
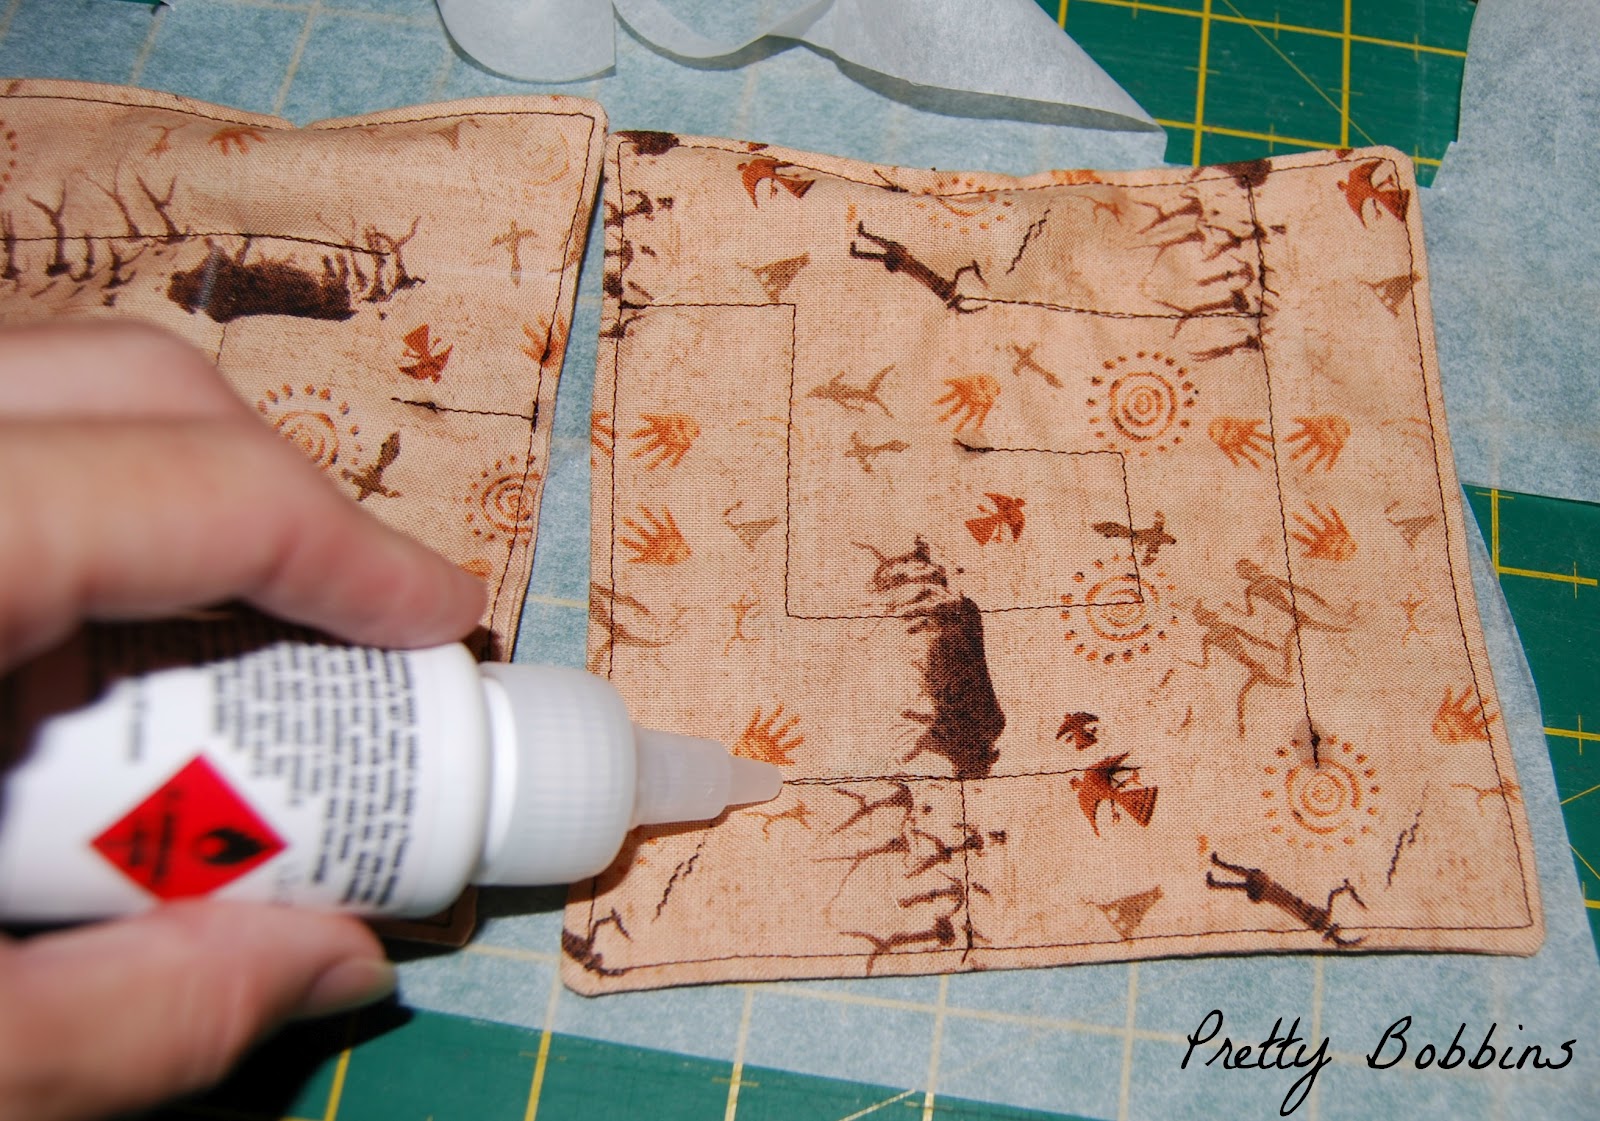
I used some baking paper to protect my cutting mat.
Please note that marbles are not suitable for young children, please pay attention to the safety information marked on the marble packaging. 
I hope you found that useful!  What clever uses have you found for fat quarters?

1 comment: