


Sew a few stitches and leave your needle inserted in the fabric. Lift the Pressure Foot and ease the folded hem into the curl on the foot. Lower the foot and continue sewing while holding the fabric edge to keep it feeding evenly.

You will end up with a nice, even hem with a row of stitching down the middle.

Ok, you can put that foot away now and have a play with it next time you want a very small hem!!
Put your General Purpose Foot or your 1/4" foot on....
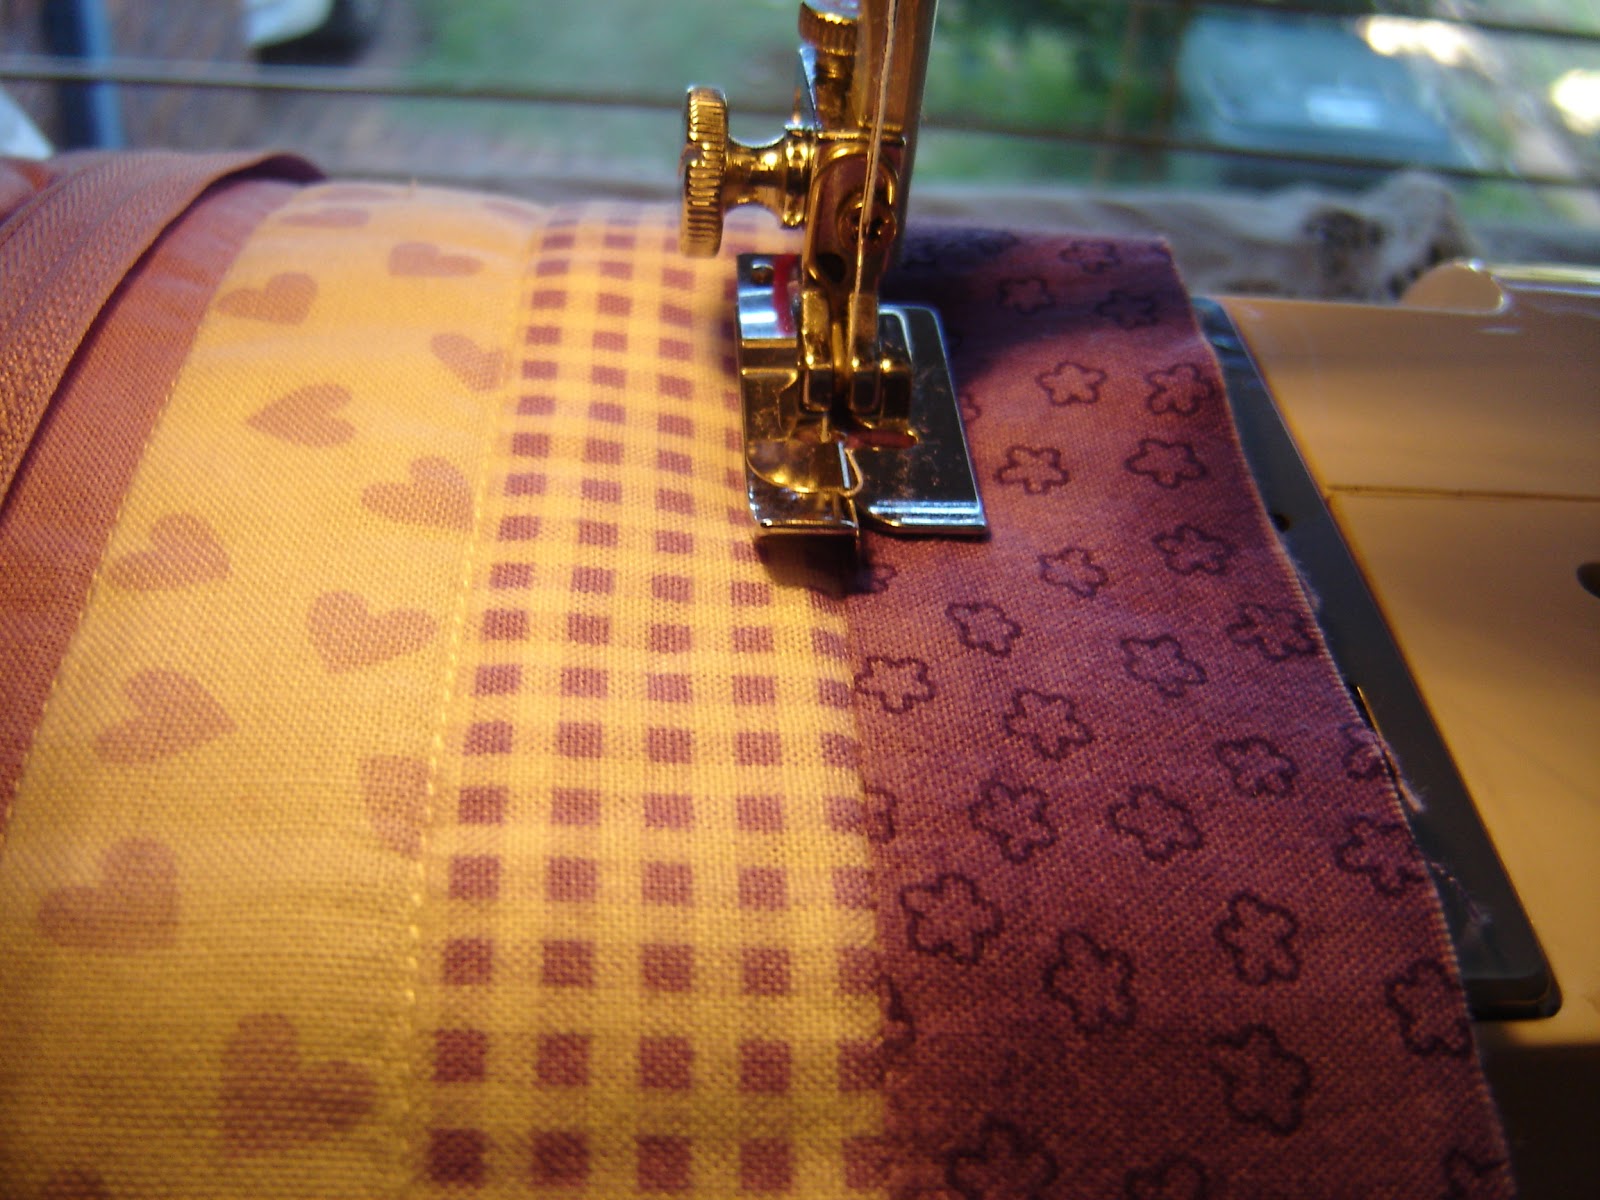
Take the square and place it right side up, onto a 3.5" lining rectangle and line up the bottom.

Place another lining rectangle on top of that and stitch down one side. Press it open.

Take the final lining rectangle and repeat the process down the other side. Press it open.

Take your rule and with your rotary cutter, trim the rectangle so that it is 9'x4.5" - you will see that the 'pocket' lies between 3 and 6 on my rule. I then trimmed both ends.
Now it's time for the zip! Take the zip and trim the ends to the metal markers.


Take 2 pieces of your scrap and with right sides facing, put one piece either side of the zip at each end. I am adding this to the end of the zip so that the seam formed as we join the pouch together, doesn't open directly into the end of the zip. (You have probably had a seam come open at the end of a zip in a skirt...)

Notice on the left, that I have pinned each side of the zip to hold it together - I will leave those pins there as I sew. The seams will be 7.5" apart. Sew down each side going across the zip. Do this carefully- I did it twice each end because this seam will take the' spreading of the zip open' force as you use the pouch. Press them open.

Trim the scrap pieces

The zip is now 9" long!! Notice how nicely the zip closes too. Well done!
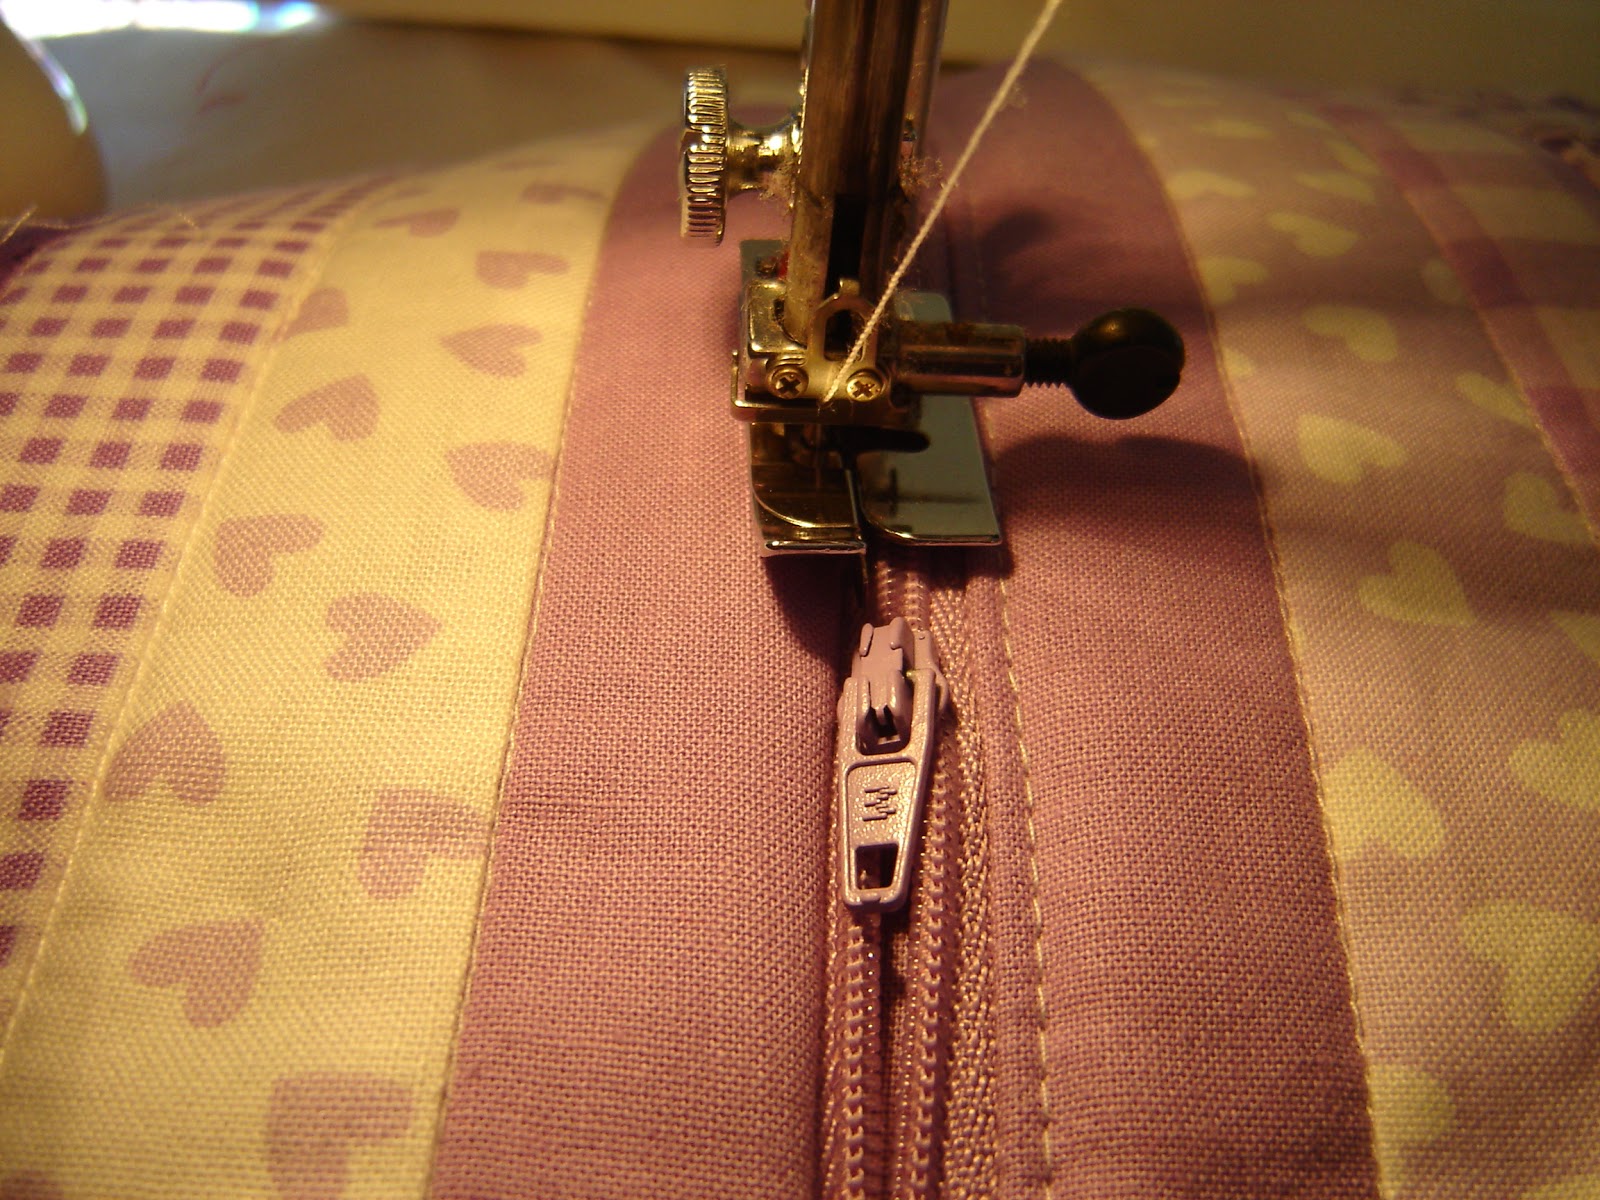
Take one of the main fabric rectangles and place it right side up. Place the zip opening from the left, right side down on top of it. Then place the pocket rectangle, right side down on top of that. Notice that the top of the pocket is facing the zip!

With the ends and side edges meeting, pin along the length of the zip. Just check that it looks like this:


We now need to attach the Zipper Foot: You will notice that this foot has 2 sides to it and 2 attaching bars - so you decide which side you wish to sew down and attach the foot accordingly.

This is a zipper foot from my very first machine - just to show you a different style!

As with attaching any foot, always turn the needle down to check if you need to shift the needle!!
Ok - with your foot attached so that you sew to the left and needle adjusted, stitch the length of the zip. I ran the edge of the fabric along the edge of the foot.

Open it out and with your Stitch in the Ditch Foot, your stitch length to about 3 and the seam allowance facing to the main fabric, sew down the length of the zip through the main fabric and seam allowance only. This gives a nice finish and prevents it rolling and jamming the zip.

Now to the other side! Place the other main rectangle right side up, then the zip with the opening now on the right, and then the other lining rectangle and repeat the process.

As you are top stitching you will come to the zip slider. If you leave your needle down, lift the foot and rotate the whole thing, you will be able to move the slider past the needle.


Lift the foot, rotate the fabric back and continue stitching to the end.

The outside will now look like this:

and the inside like this:

Before we start the next step OPEN the zip!!
Take the 2 main fabric sides and place them facing each other and this will also mean the other lining sides are facing each other.

Pin and stitch around the outside, remembering to leave an opening to turn the pouch through to the right side

Clip the corners and trim away the bulk at the seams and turn through to the right side. Push the corners out with a blunt instrument, stitch the gap closed using ladder stitch or machine stitch it, tuck the lining into the pouch and TaaDaaa - you've done it!!
Pop your spare blade in the pocket and the cutter in the pouch and zip it up!!

Well done!! I hope you enjoyed the journey!!
Until next time
Nanny xx


No comments:
Post a Comment