
Today we are going to make a pair of boxer shorts or loose-fitting shorts with elastic waist. It is easy to make your own pattern if you have a pair of shorts the right size.
If you need to purchase a pattern, check them out at Patterns Only
If you need to purchase a pattern, check them out at Patterns Only
I am making my grandson a
pair of pyjama lounge shorts
using a poly satin.
What was I thinking!!!!
This fabric is ghastly but I will soldier on cause he lubs me!!. I wouldn’t recommend this fabric if
you are not confident as it is very slippery and frays like mad! That said, if you wish to give it a try, follow along.
If you choose other fabric, I would recommend a fine cotton
or even seersucker (the one that’s bubbly like Grandmas tablecloths ) I will add alternate instructions for cotton as is appropriate.
What you will need:
Fabric the length of your required shorts
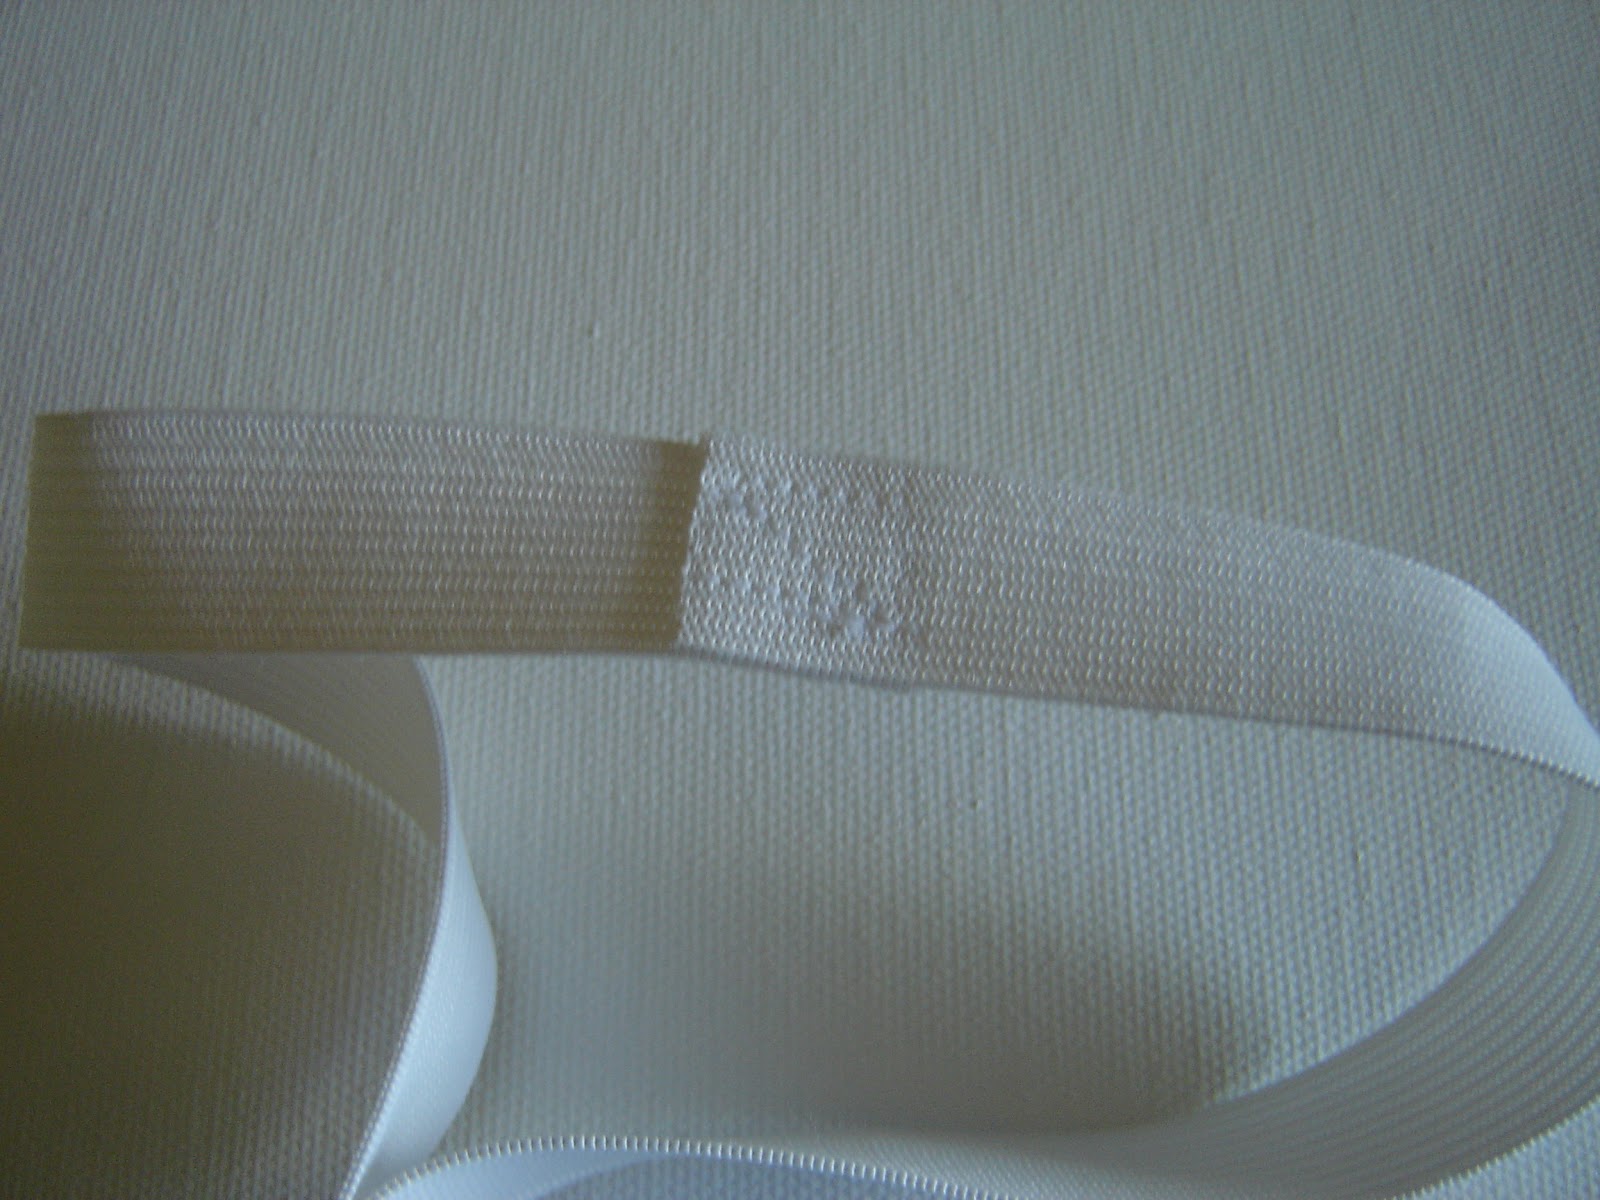
3/4” elastic
Pattern for elastic waisted shorts
Let’s sew!
NOTE: When sewing satin like fabric,it is best to use a sharp needle to prevent snagging or pulling of threads across your garment. Avoid using pins if possible unless they are very fine and sharp and then only pin in the seams.
Take your fabric and fold (selvedge to selvedge way) but only as wide as you need for your pattern. Place your pattern where we wrote 'place on the fold' onto the fold. You should not see any of the fabric when the pattern is placed correctly. ( Don't you just love my hair clips!!) You will need to cut two of these as each piece forms a leg.

I am now going to finish the edges all around each piece to stop the fraying. If you have a serger/overlocker you can use it but, because I know that many of you dont have one, I will use a zigzag. Test your zigzag on a scrap first.
Cotton: You do not need to do this step

I am also going to use French Seams to give strength and protection to the seams. A French Seam starts by putting wrong side to wrong side. The seam allowance in this pattern is 3/8" so I am going to stitch the inner leg seam right beside my zigzag at about 1/8".
Cotton: if you are using a fine cotton, you may decide to use this seam finish as well but if you are using a thicker cotton, check the end of this for alternate instructions.

Trim away the stray strands and turn the fabric so that right side is to right side and then sew a 1/4" seam.

Now that will stop that little seam fraying!!
If you are using a cotton, I would suggest you use a flat felled seam. Stitch your seam the same way with wrong sides together.

Press the seam as stitched to set the seam. Trim ONE side of the seam to 1/8."

Fold the larger side over to the seam line and press.

Then fold it over so that it sits flat and pin.

Stitch along the edge

This will give you a flat finish with no exposed edges to be 'scratchy' that is extremely hard wearing - just what you need!
Repeat for the other leg and you now have this:

Turn one leg inside out and put it inside the other leg, with wrong sides together.

Now complete a French Seam, taking care in the crotch area, that you put the seam lines together and lay one leg seam to the left and the other to the right to reduce bulk.

Trim and turn. Stitch a 1/4" seam. You now have this! Starting to look like pants??

Cotton: Complete another Flat Felled Seam taking care that in the crotch area, you put the seam lines together.
You would not use this on sharper curves but the crotch curve is only slight and so works fine.

Now turn the top over 1 and 1/4" and stitch close to the edge. (You can see that I am using my Stitch in the Ditch Foot.) There is no need to pin - just work your way along.

Now, with that stitching holding the top, fold under the raw edge and stitch measuring 1" to form the casing. Leave an opening to put the elastic in.


Overlap the ends of the elastic, taking care that it isn't twisted and stitch securely. Trim excess.


No comments:
Post a Comment